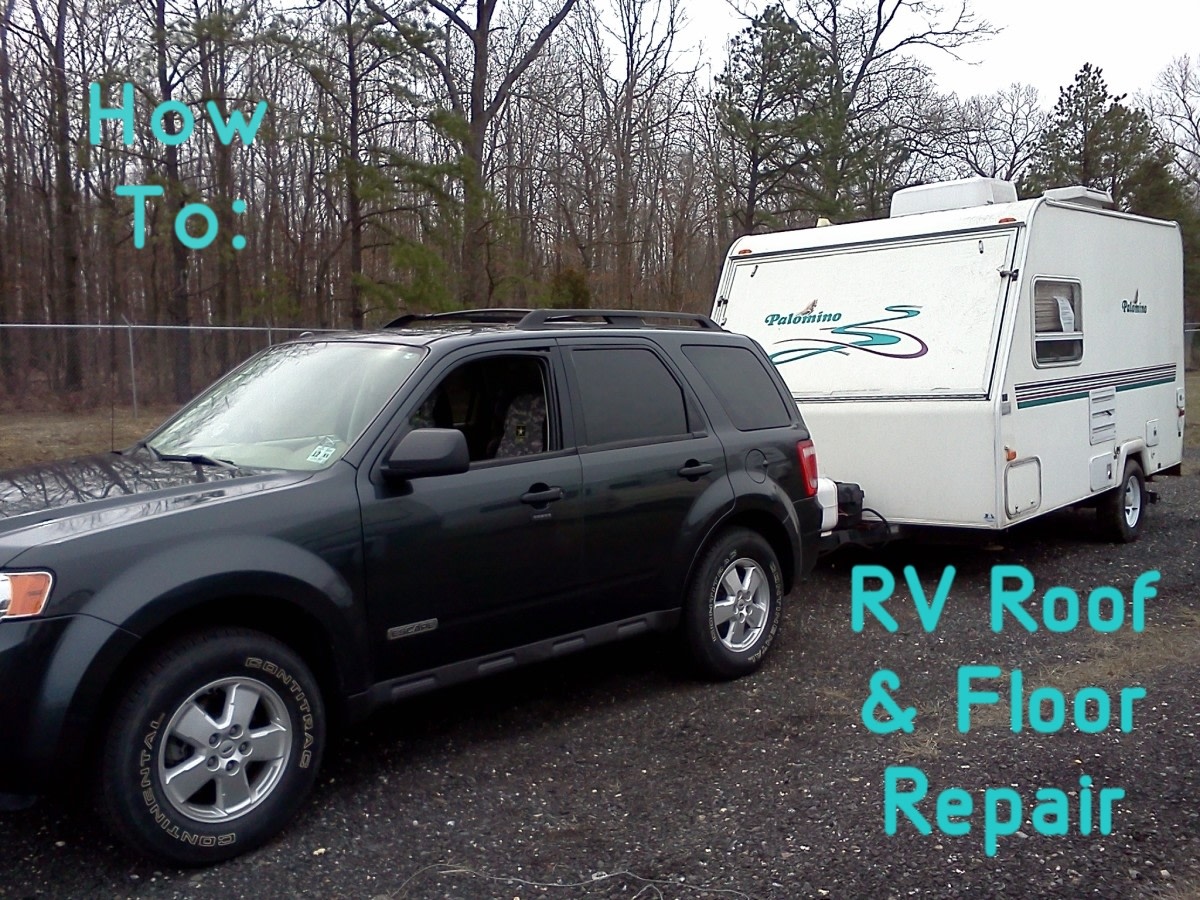
As a proud owner of a beloved camper, you embark on countless adventures, forging memories that will last a lifetime. However, the relentless passage of time and the rigors of the open road can take their toll, leaving telltale signs of wear and tear. One common issue that can dampen the excitement of camping trips is the dreaded soft spot in your camper floor.

Image: www.pinterest.com
A soft spot in the floor may seem like a minor inconvenience at first, but ignoring it can lead to more significant structural problems down the road. It can compromise the stability and safety of your camper, and even cause it to be unsafe to use. Fortunately, fixing a soft spot in your camper floor is a relatively straightforward task that you can accomplish with the right tools and materials.
Embarking on the Repair Mission:
1. Pinpoint the Problem:
The first step is to locate the exact area of the soft spot. Gently walk around the floor, applying pressure in different areas. Note any depressions or areas that give way beneath your feet. This will help you determine the extent of the damage.
2. Gather Your Arsenal:
To fix the soft spot, you’ll need a few essential tools and materials:
- Plywood (1/2 inch or thicker)
- Circular saw
- Jigsaw
- Screws
- Drill
- Construction adhesive
- Level
3. Prepare the Area:
Once you’ve assembled your toolkit, remove any furniture or obstructions from the affected area. This will give you a clear workspace and ensure you can easily access the damaged floor.
4. Remove the Damaged Section:
Using the circular saw, carefully cut out the damaged portion of the floor. Use the jigsaw to make any necessary adjustments for a snug fit.
5. Cut the Replacement Plywood:
Measure the dimensions of the cut-out area and cut a piece of plywood to the same size using the circular saw.
6. Apply Adhesive and Secure:
Generously apply construction adhesive to the edges of the plywood and the exposed floor beams. Carefully lift the replacement plywood into place and align it with the cut-out area. Secure it with screws, driving them into the floor beams.
7. Level the Surface:
Place a level on the repaired area to ensure it’s perfectly level with the surrounding floor. Adjust the plywood accordingly and add additional screws if necessary.
8. Reinstall Furniture and Enjoy:
With the soft spot expertly fixed, it’s time to reinstall any furniture or obstructions. Step back and admire the handiwork that has restored your camper’s structural integrity and safety.
Seeking Expert Wisdom:
If you’re new to DIY repairs or prefer professional guidance, don’t hesitate to consult with experienced RV technicians or carpenters. They can assess the damage, provide expert advice, and ensure your camper floor is repaired to the highest standards.

Image: viewfloor.co
How To Fix Soft Spot In Camper Floor
Conclusion:
Fixing a soft spot in your camper floor is a rewarding task that can protect your cherished investment and ensure your future camping trips are filled with comfort and peace of mind. By following the steps outlined in this comprehensive guide and seeking professional guidance if needed, you can restore your camper’s structural integrity and continue to create lasting memories on the open road.