As a homeowner, dealing with a leaking roof can be a stressful and urgent situation. It can lead to further damage to your property if not addressed promptly. While a permanent repair may require professional assistance, there are effective temporary solutions you can implement to prevent further water infiltration until a permanent fix can be arranged. In this comprehensive guide, we will walk you through the necessary steps to fix a leaking roof temporarily, ensuring the safety of your home and belongings.
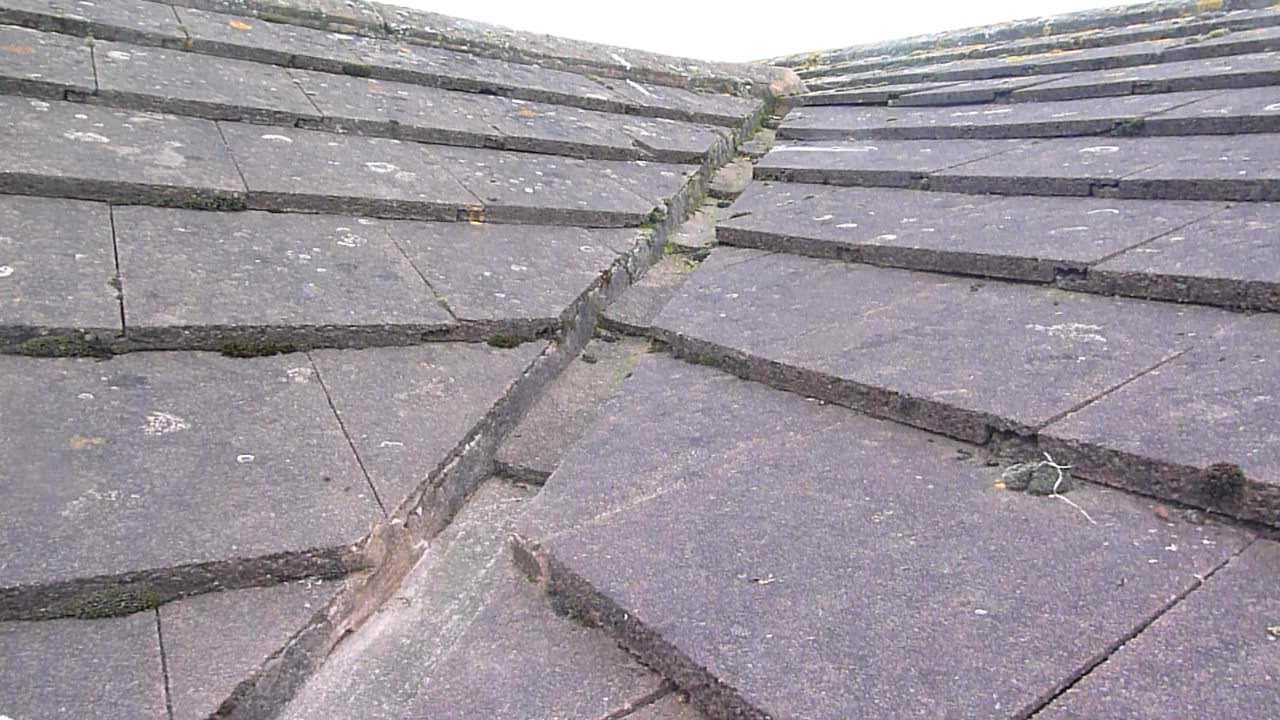
Image: www.youtube.com
Preparing for the Repair
Before starting any repair, safety should be your top priority. Accessing your roof can be hazardous, so ensure you have a sturdy ladder and a partner to assist you. Clear the work area of any debris or obstacles, and wear appropriate clothing and safety gear, including gloves and protective eyewear. If you feel overwhelmed or uncomfortable working at heights, do not hesitate to seek professional help.
Identifying the Leak Source
Locating the leak source is crucial before implementing a temporary fix. Begin by inspecting your roof from the inside, looking for signs of water stains or leaks. If possible, trace the leak path to identify the point of entry on the roof’s exterior. Common leak sources include damaged shingles, flashing, or roof valleys.
Temporary Repair Options
Once you have identified the leak source, you can choose the most appropriate temporary fix. Here are several effective methods:
1. Use a Tarp
Tarps are readily available and provide a quick and effective way to cover the leak area. Spread the tarp over the damaged area, ensuring it extends beyond the leak source in all directions. Secure the tarp with nails or weights around the edges to prevent wind from dislodging it.
2. Apply Waterproof Sealant
Waterproof sealants are available in various forms, including caulk, spray foam, and liquid rubber. Clean the leak area thoroughly and apply the sealant according to the manufacturer’s instructions. Allow the sealant to dry completely before testing its effectiveness.
3. Use Roofing Cement
Roofing cement is a pliable adhesive that can be molded to create a temporary patch. Clean the leak area and apply a generous amount of roofing cement over the damaged area. Smooth the cement out and allow it to set for several hours before testing.
Additional Tips for Success
-
If possible, secure the edges of your temporary repair with roofing nails or screws to prevent it from detaching.
-
Monitor the repair regularly, especially during heavy rain or wind, to ensure it is holding up.
-
Do not use duct tape as a temporary roof repair solution, as it is not waterproof and will deteriorate quickly.
-
Once the immediate leak has been addressed, schedule a permanent repair with a qualified roofing contractor as soon as possible to prevent further damage.
Conclusion
Fixing a leaking roof temporarily can be a daunting task, but it is manageable with the right knowledge and materials. By following the steps outlined in this guide, you can effectively mitigate water damage and protect your home until a permanent repair can be arranged. Remember to prioritize safety and seek professional help if needed. A well-executed temporary repair can buy you valuable time while ensuring the safety and integrity of your property.

Image: www.pinterest.com
How To Fix A Leaking Roof Temporarily
https://youtube.com/watch?v=2USGjOidwhE
