Introduction
Have you ever spent hours meticulously applying caulk, only to discover a less-than-perfect result? Don’t despair, as rescuing a bad caulk job is possible with the right approach. In this comprehensive guide, we will delve into the art of caulk repair, providing step-by-step instructions, expert advice, and insider tips to transform your caulking mishaps into seamless perfection.
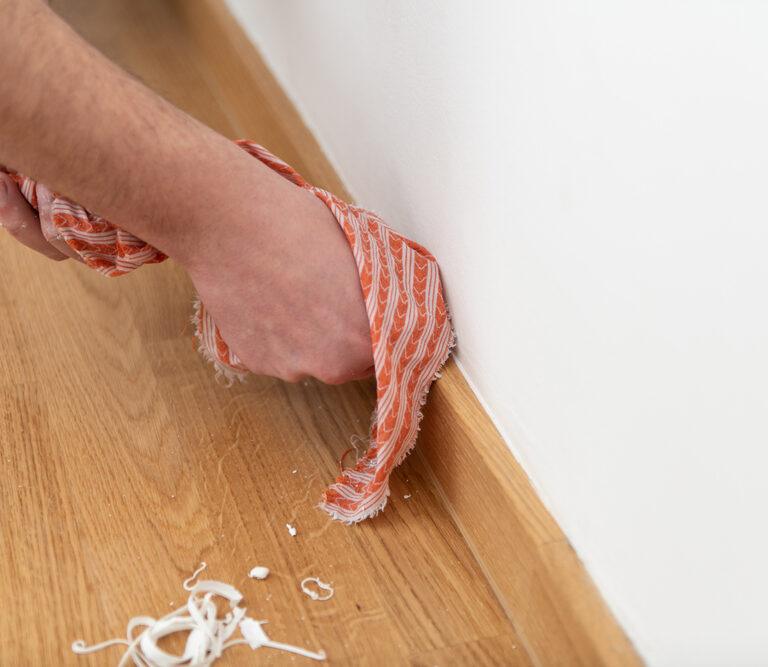
Image: tooldigest.com
Anatomy of a Good Caulk Job
Before we tackle the repair, let’s briefly revisit the fundamentals of a successful caulk application. Caulking is essential for preventing water penetration, air leakage, mold growth, and drafts around openings such as windows, doors, and sinks.
Identifying Common Caulk Problems
Imperfect caulking can manifest in various forms, including gaps, cracks, peeling, discoloration, and uneven application. These imperfections compromise the seal’s integrity, rendering it ineffective in its intended purpose.
Step-by-Step Guide to Repairing a Botched Caulk Job
1. Preparation: Thoroughly clean the affected area with a cleaning solution and a non-abrasive sponge. Remove any existing caulk residue using a caulk removal tool or a sharp knife.
2. Surface Drying: Allow the cleaned area to dry completely. Moisture can hinder proper adhesion of the new caulk.
3. Re-applying Caulk: Using a caulk gun, apply a bead of caulk along the intended joint. Use smooth, even strokes and maintain a consistent bead size.
4. Tooling and Finishing: Use a caulk tool or your finger dipped in soapy water to smooth and shape the caulk. Remove any excess caulk and create a clean, professional-looking finish.
5. Curing: Refer to the caulk manufacturer’s instructions to determine the curing time. Avoid exposing the repaired caulk to water or excessive movement during this period.

Image: lazyguydiy.com
Tips and Expert Advice from the Pros
1. Choose the Right Caulk: Opt for a caulk type suitable for the intended application, such as silicone for bathrooms or latex for paintable surfaces.
2. Practice Patience: Allow ample time for each step to ensure a lasting repair and avoid disturbing the caulk prematurely.
3. Invest in Quality Tools: A sharp caulk removal tool and a good caulk gun make the repair process more efficient and precise.
Frequently Asked Questions (FAQs)
- Q: How long should I wait to re-caulk after removing the old caulk?
- Q: Can I paint over caulk?
- Q: How often should I re-caulk?
A: Ideally, you should wait at least 12 hours to ensure the surface is completely dry.
A: Yes, but not all caulks are paintable. Check the manufacturer’s instructions to determine compatibility and proper painting techniques.
A: Caulking should be inspected regularly and re-applied as needed. Silicone caulk typically lasts 5-10 years, while latex caulk may need more frequent reapplication.
How To Fix A Bad Caulk Job
Conclusion
With the knowledge and techniques outlined in this comprehensive guide, you are well-equipped to tackle any caulk repair challenges. Remember, patience, precision, and the right tools are key to achieving a seamless and effective seal. Your once botched caulk job will soon become a testament to your newfound caulking prowess.
Would you like to learn more about caulking best practices and innovative products? Follow our blog for additional insights and expert advice.
