Introduction:
In the midst of your baking endeavors, you might encounter the dreaded broken pie crust. Store-bought crusts, while convenient, are not immune to breakage during handling. But don’t fret! With a few simple techniques and a bit of patience, you can salvage the situation and create a picture-perfect pie. This comprehensive guide will unveil the secrets to breathing new life into your broken store-bought pie crust, leaving you with a flawless pastry that will impress your guests.
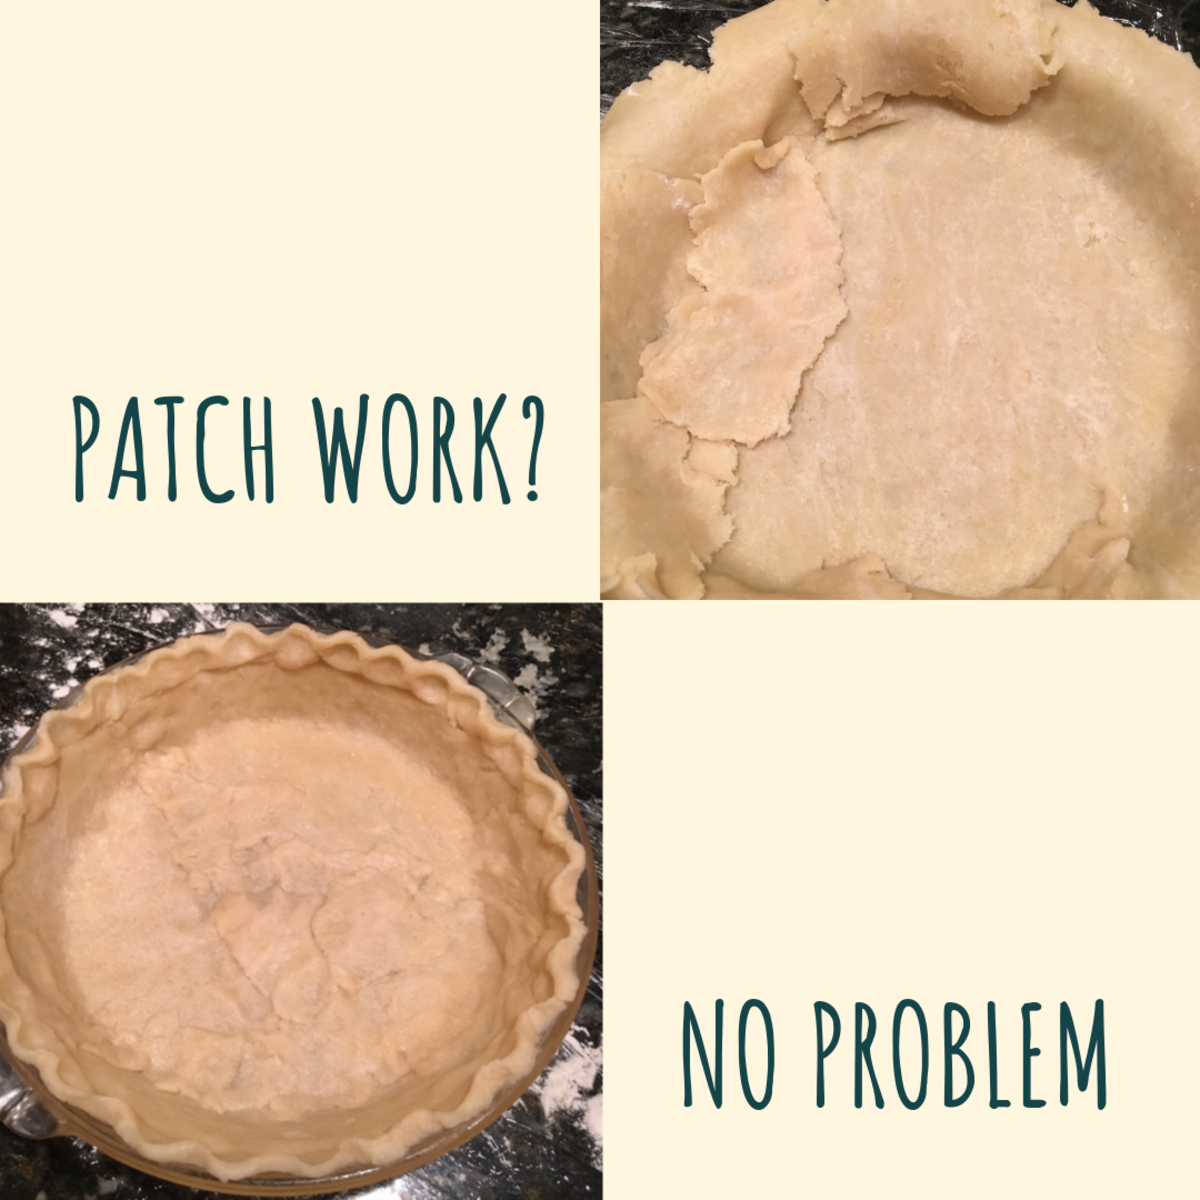
Image: delishably.com

Image: thecafesucrefarine.com
How To Fix A Broken Store Bought Pie Crust
Steps to Fix a Broken Pie Crust: A Comprehensive Breakdown
1. Assess the Damage:
Begin by examining the extent of the breakage. Minor cracks can be easily mended, while larger tears may require a more intricate approach. Determine whether the damage is confined to the edges or affects the entire crust.
2. Gather Essential Tools:
Prepare a clean workspace and gather necessary tools such as a pastry brush, damp paper towels, and a sharp knife. If you encounter more extensive tears, consider additional tools like toothpicks or skewers.
3. Repairing Minor Cracks:
If cracks appear on the edges of the crust, gently brush water around the edges using a pastry brush. Use your fingertips to softly press the edges together, and smooth out any bumps. Once joined, refrigerate the crust for about 15-30 minutes to allow the water to absorb and solidify, strengthening the seal.
4. Mending Larger Tears:
For larger tears, meticulously dab damp paper towels along the edges of the tear to moisten them. Overlap the edges and gradually press them together, ensuring proper alignment. If needed, use toothpicks or skewers to hold the patched area in place and prevent further breakage during baking.
5. Patching Holes:
Should you encounter unfortunate holes in the crust, fear not! Cut a small piece of dough or use a pre-made patch to cover the hole. Slightly wet the edges of the patch and carefully press it over the hole, blending it seamlessly into the crust. Use your fingers or a fork to create a secure seal.
6. Additional Tricks for Stability:
For added stability, roll out a thin layer of dough and cut strips slightly wider than the tears. Place these strips over the damaged areas and carefully blend them into the crust using your fingertips. This reinforcement will provide extra support during baking.
7. Enhance Flavor with Flour:
To minimize the visibility of repaired areas and enhance flavor, sprinkle a light dusting of flour over the patched sections. This added flour will help blend the repaired areas and contribute a subtle nutty flavor.
8. The Power of Baking Weights:
To prevent the crust from shrinking or losing its shape during baking, line it with parchment paper and fill it with pie weights or dried beans. This clever technique ensures an evenly baked crust with minimal shrinkage.
9. Cool and Fill with Confidence:
Once baked, remove the pie from the oven and allow it to cool completely before filling. Filling a warm crust can cause it to soften and potentially collapse, compromising its structure.
10. Practice Patience:
Throughout the process, exercise patience and avoid rushing. Rushing can lead to further breakage or compromise the quality of your repairs. Allow ample time for each step, especially during chilling periods, to ensure a successful outcome.
Conclusion:
With this comprehensive guide at your disposal, you can confidently tackle the task of fixing a broken store-bought pie crust. Remember, patience, precision, and the proper techniques are the keys to success. Embrace the challenge as an opportunity to showcase your creativity and baking prowess. By following these steps, you will transform a broken crust into a delectable dessert worthy of any special occasion.
