A smooth, even polyurethane finish adorns furniture and woodwork, enhancing their beauty and longevity. However, sometimes, the dreaded blotchiness can mar this pristine surface, leaving behind unsightly imperfections. No worries, though! This comprehensive guide delves into the causes of blotchy finishes and provides step-by-step solutions to restore your precious wood’s flawless appearance.
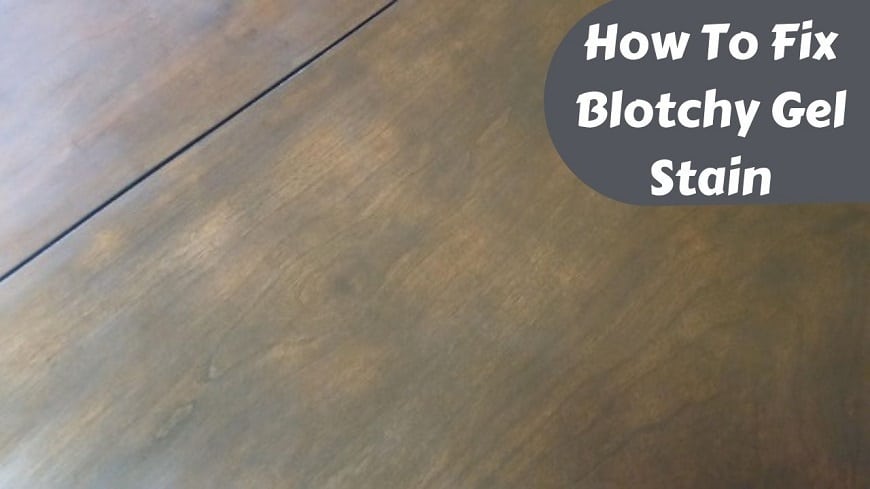
Image: woodpander.com
Understanding Blotchy Finishes: The Culprits Revealed
Blotchiness in polyurethane finishes stems from an uneven absorption of the finish into the wood’s surface. The varying absorption rates between different parts of the wood, such as earlywood and latewood, result in a mottled appearance. Several factors contribute to this disparity:
-
Wood Density and Grain:
Denser areas of wood, such as latewood, absorb less finish, while less dense earlywood absorbs more, leading to noticeable blotches.
-
Moisture Content:
Excess moisture in the wood can hinder polyurethane absorption, causing uneven penetration and blotchiness.
-
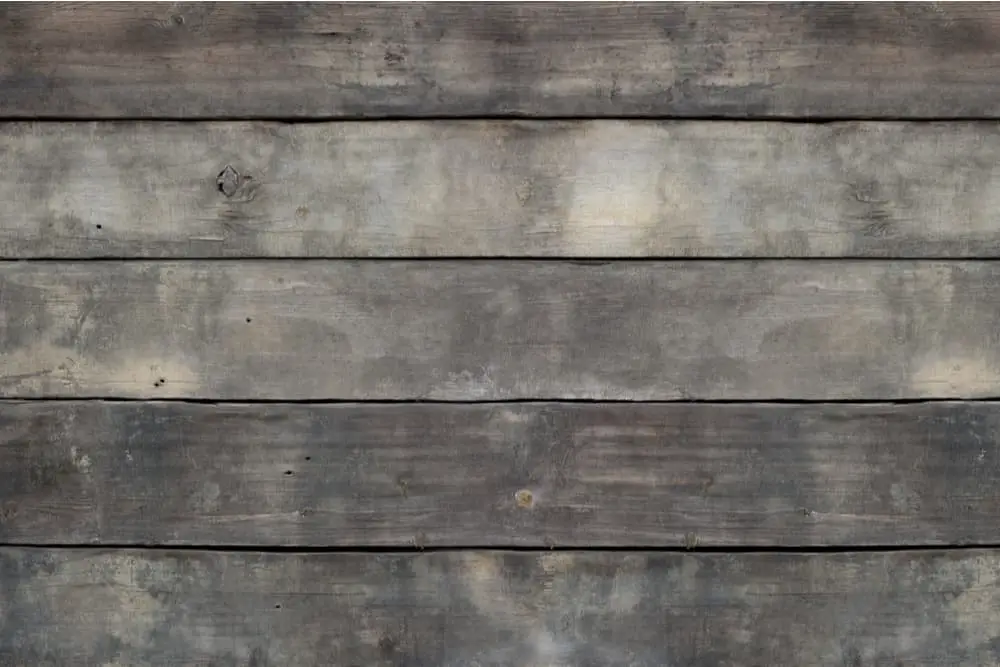
Image: twomakeahome.comPorosity:
Woods with higher porosity, such as oak, are more prone to uneven absorption due to their abundant pores.
-
Finish Application:
Factors like the thickness of the finish, application method, and sanding techniques can significantly influence the uniformity of absorption.
The Art of Fixing Blotchy Polyurethane: A Comprehensive Approach
Conquering blotchy polyurethane is a multi-step process that restores the wood’s natural beauty and protects it against wear and tear.
1. Preparation: A Clean Slate for Perfection
-
Sanding:
Using 120-grit sandpaper, lightly sand the affected area with circular motions to remove the existing polyurethane finish. Wear a dust mask for safety.
-
Tack Cloth Magic:
Once sanded, wipe the surface thoroughly with a clean, lint-free tack cloth to remove sanding residue.
2. Applying a Pre-Stain Conditioner: Evening the Absorption Field
-
Application:
Apply a pre-stain conditioner evenly over the sanded area. This treatment prepares the wood for even absorption by minimizing the differences between denser and less dense areas.
-
Drying Time:
Allow the pre-stain conditioner to penetrate the wood thoroughly, following the manufacturer’s recommended drying time.
-
Re-sanding:
After drying, lightly sand the surface again with 120-grit sandpaper to create a smooth base for the new finish.
3. Applying a New Polyurethane Finish: The Final Touch
-
Thinning the Finish:
To prevent blotchiness, consider thinning the polyurethane with a recommended solvent (usually mineral spirits). This reduces the finish’s viscosity, allowing for more uniform penetration.
-
Application Technique:
Using a high-quality brush or lint-free cloth, apply thin, even coats of the thinned polyurethane. Brush in the direction of the wood grain for optimal smoothness.
-
Drying and Sanding:
Allow the first coat to dry completely before sanding lightly with 220-grit sandpaper. Repeat this process for additional coats until the desired finish is achieved.
Prevention Is Better Than Cure: Tips for Avoiding Blotchiness
Preventing blotchy finishes is key to maintaining a pristine wood surface. Here are some proactive measures to consider:
-
Proper Preparation:
Sanding the wood thoroughly and removing all dust before applying the polyurethane ensures even absorption and a smooth finish.
-
Compatible Products:
Choosing compatible products, such as pre-stain conditioners and polyurethane finishes designed for specific wood types, minimizes absorption variations.
-
Thinning the Finish:
As mentioned earlier, thinning the polyurethane with a recommended solvent promotes even penetration and reduces the risk of blotchiness.
-
Multiple Thin Coats:
Applying multiple thin coats of polyurethane, rather than one thick coat, allows for better absorption and a more uniform finish.
-
Test Patch:
Before applying the polyurethane to the entire surface, conduct a test patch on an inconspicuous area to check for compatibility and any potential issues.
Beyond Blotches: Troubleshooting Common Polyurethane Woes
In addition to blotchiness, other common polyurethane issues require specific solutions:
-
Bubbles:
Heat the finish slightly with a heat gun or hair dryer to break up the bubbles. Avoid overexposure to heat as it can damage the finish.
-
Runs and Sags:
Thickening the polyurethane with a solvent or using a foam brush minimizes runs and sags. Apply thin coats and allow ample drying time between each coat.
-
Yellowing:
Many polyurethanes contain compounds that may yellow over time, especially when exposed to UV light. Consider using a UV-protective polyurethane or applying multiple thin coats to reduce the risk of yellowing.
How To Fix Blotchy Polyurethane Finish
Conclusion: A Path to Flawless Polyurethane Finishes
Blotches on polyurethane finishes can be frustrating, but with the right knowledge and techniques, they can be eliminated, restoring the wood’s natural beauty. Understanding the causes of blotchiness enables you to tailor solutions and take preventive measures. Remember to always prepare the wood properly, use compatible products, and apply thin, even coats of polyurethane to achieve a flawless finish. With these tips and the step-by-step guide provided, you can confidently tackle any polyurethane project and create stunning, durable finishes that will stand the test of time.
