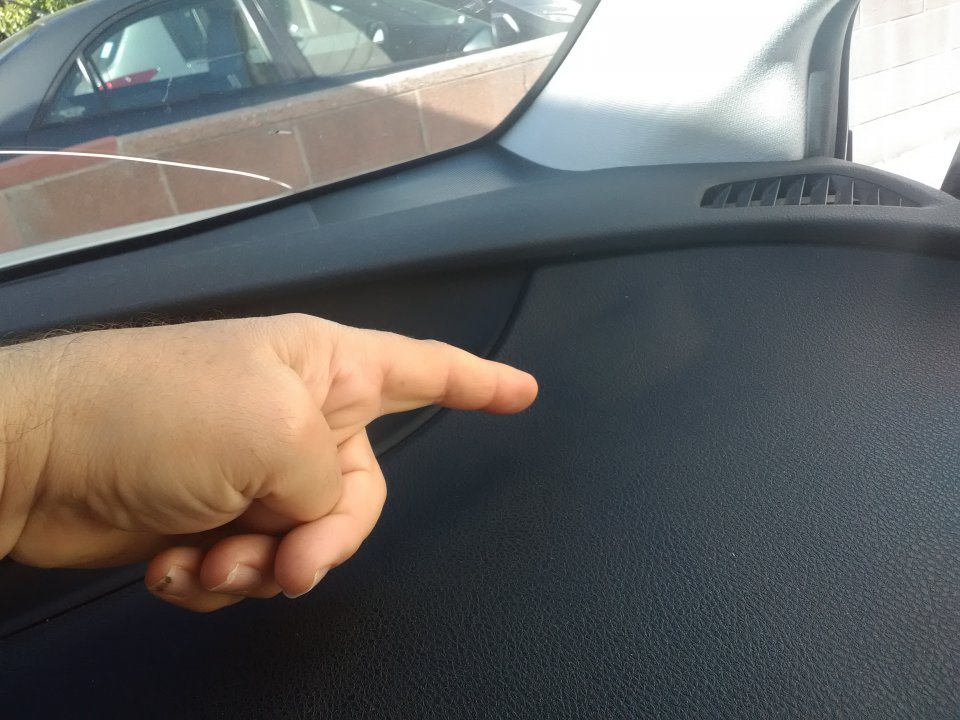
Bubbled dashboards can be a frustrating sight in an otherwise well-maintained vehicle. Not only are these unsightly blemishes distracting while driving, but they can also diminish the resale value of your car. If you find yourself grappling with this issue, don’t fret! With some patience and a few simple techniques, you can restore your dashboard to its original, unblemished state.

Image: dragon-upd.com
What Causes Leather Dashboard Bubbles?
The root cause of leather dashboard bubbles typically lies in exposure to extreme temperatures. Whether it’s baking under the summer sun or freezing in wintery conditions, these fluctuations can cause the adhesive bonds that hold leather to the dashboard to weaken. As a result, air or moisture can seep beneath the leather, forming unsightly bubbles that mar the aesthetic appeal of your dashboard.
Step-by-Step Guide to Repairing Dashboard Bubbles
Materials you’ll need:
- Soft, clean cloth
- Warm water
- Diluted dish soap
- Adhesive needle or pin
- Heat gun or hairdryer
- Leather repair kit (optional)
Step 1: Cleaning
Start by thoroughly cleaning the affected area with a soft, damp cloth and a gentle cleaning solution made from diluted dish soap and warm water. This step removes any dirt or debris that may interfere with the adhesive. Allow the area to dry completely before proceeding.
Step 2: Puncture the Bubble
Using an adhesive needle or a fine pin, carefully puncture the bubble. Be gentle and avoid making any unnecessary tears.
Step 3: Heat Application
Apply heat to the bubbled area using a heat gun set on a low setting or a hairdryer. Hold the heat source a few inches away from the surface and move it around to prevent scorching. As the leather warms, it will soften, allowing the adhesive to reactivate.
Step 4: Push Out Air
Gently press down on the bubble with your finger or a blunt object. Start from the edges and work your way towards the center. This helps expel the air trapped beneath the leather.
Step 5: Adhesive Injection (Optional)
If the bubble fails to flatten out completely, you may need to inject additional adhesive. Use a leather repair kit to apply a small amount of adhesive into the puncture hole.
Step 6: Final Bonding
Hold the leather firmly against the dashboard for several minutes to ensure a secure bond.
Step 7: Allow to Cool
Let the dashboard cool down to room temperature before touching or using it. This allows the adhesive to set properly.
Expert Insights for Optimal Results
- To prevent the occurrence of dashboard bubbles in the future, consider using a dashboard cover or shades to protect it from direct sunlight and extreme temperatures.
- If you live in a particularly harsh climate, apply a leather conditioner regularly to maintain its elasticity and prevent cracking.
- For more severe cases, seek professional assistance from an auto upholsterer who specializes in leather repair. They’ll be able to assess the damage and recommend the most suitable solution.

Image: priuschat.com
How To Fix Leather Dashboard Bubbles
Conclusion
Don’t let dashboard bubbles get the better of your vehicle’s aesthetics. With the techniques outlined in this guide, you can restore your dashboard to its former glory and maintain its pristine appearance for years to come. By understanding the causes of these blemishes and following the steps diligently, you’ll not only save money on costly repairs but also enhance the overall look of your car’s interior. So, go forth and let your dashboard shine like never before!