Introduction
If you’ve ever encountered a dreaded paper jam in your Canon printer, you know the frustration it can bring. Not only does it disrupt your workflow, but it can also seem daunting to resolve. However, with the right guidance, you can become an expert at unjamming your printer and getting back to your printing tasks with ease. In this comprehensive guide, we’ll walk you through the detailed process of fixing a paper jam in your Canon printer, providing step-by-step instructions, expert tips, and troubleshooting advice to empower you to handle this common issue confidently.

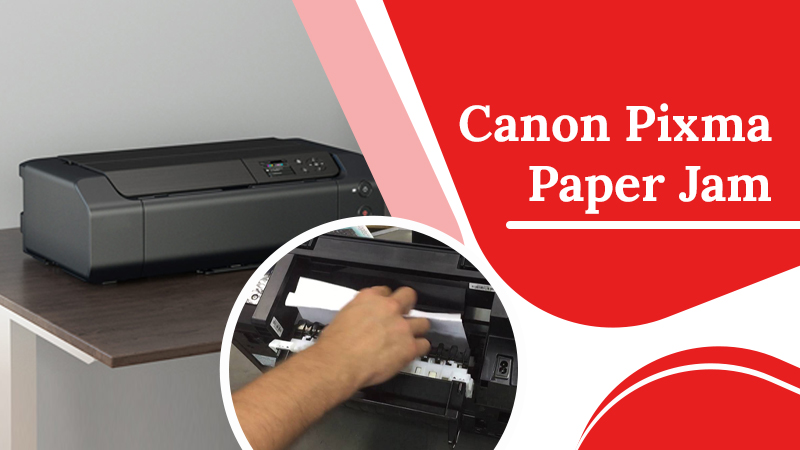
Image: www.canonprintersupportpro.us
Understanding Paper Jams: How and Why They Occur
Paper jams occur when paper gets stuck inside the printer, preventing the printing process from completing successfully. This can be due to various factors, including:
-
Misaligned Paper: If the paper is not properly aligned or loaded incorrectly, it can lead to a jam.
-
Wrinkled or Damaged Paper: Using wrinkled or damaged paper increases the risk of it getting caught and causing a jam.
-
Paper Pile Overload: Overloading the printer with too much paper can result in excessive pressure and potential paper jams.
-
Printer Malfunction: Occasionally, printer malfunctions, such as worn-out rollers or misaligned sensors, can contribute to paper jams.
Tools You’ll Need
Before you begin unjamming your Canon printer, it’s essential to gather a few tools to make the process easier:
-
Tweezers or Needle-Nosed Pliers: To carefully remove any loose paper fragments or debris.
-
Flashlight or Penlight: To illuminate dark areas inside the printer and help you locate the jammed paper.
-
Compressed Air (Optional): To gently blow away any remaining paper dust or debris after the jam is cleared.

Image: in.pinterest.com
How To Fix Canon Printer Paper Jam
Step-by-Step Unjamming Instructions
1. Turn Off and Unplug the Printer:
For safety reasons, always turn off and unplug your Canon printer before attempting to unjam it.
2. Open the Printer’s Components:
-
Locate the printer’s paper tray and carefully remove any remaining paper.
-
Most Canon printers have a separate rear access panel. Open this panel to access the printer’s internal components.
3. Remove the Jammed Paper:
-
Using your flashlight, inspect the printer’s interior to locate the jammed paper.
-
If the paper is easily accessible, gently pull it out straight towards you.
-
If the paper is stuck or torn, use tweezers or needle-nosed pliers to carefully remove it piece by piece. Avoid tearing the paper further.
4. Clean the Printer:
-
Once the paper jam is cleared, it’s important to clean the printer to remove any remaining paper fragments or debris.
-
Use the flashlight to inspect the paper path, rollers, and sensors.
-
Gently blow away any loose debris using compressed air or a soft brush.
5. Reassemble the Printer:
-
Replace the rear access panel and paper tray.
-
Load new paper correctly and align it according to the printer’s instructions.
6. Turn On the Printer and Test Print:
-
Plug in your printer and turn it on.
-
Perform a test print to ensure the printer is functioning correctly and the paper jam has been resolved.
Troubleshooting Tips
-
Paper Jam Indicator: If you’re unable to locate the jammed paper, check your printer’s display panel or manual for a paper jam indicator. It may provide additional information on the location of the jam.
-
Foreign Objects: Occasionally, foreign objects like paper clips or staples can get stuck in the printer, causing a jam. Carefully check for and remove any such objects.
-
Persistent Paper Jams: If you frequently encounter paper jams with your Canon printer, it may indicate an underlying issue. Consult the printer’s manual or contact Canon support for further assistance.