Introduction:
The faucet sprayer, a versatile tool that adds functionality to any kitchen or bathroom sink, can be indispensable in our daily routine. When this trusty companion starts spewing water like a leaky dam, it can send shivers down a homeowner’s spine. Don’t fret, dear reader! This comprehensive guide will arm you with the know-how to fix a faucet sprayer with finesse, saving you the time, effort, and expense of hiring a plumber. Whether you’re a DIY enthusiast or a novice in the world of home repairs, this guide will empower you to restore your faucet sprayer to its former glory.

Image: www.oncallplumbingca.com
Identifying the Culprit:
Before embarking on the repair mission, it’s crucial to identify the culprit behind the faucet sprayer’s malfunction. The most common causes are:
- Loose or worn washers: These tiny but mighty components seal the connection between the sprayer head and the hose, preventing leaks.
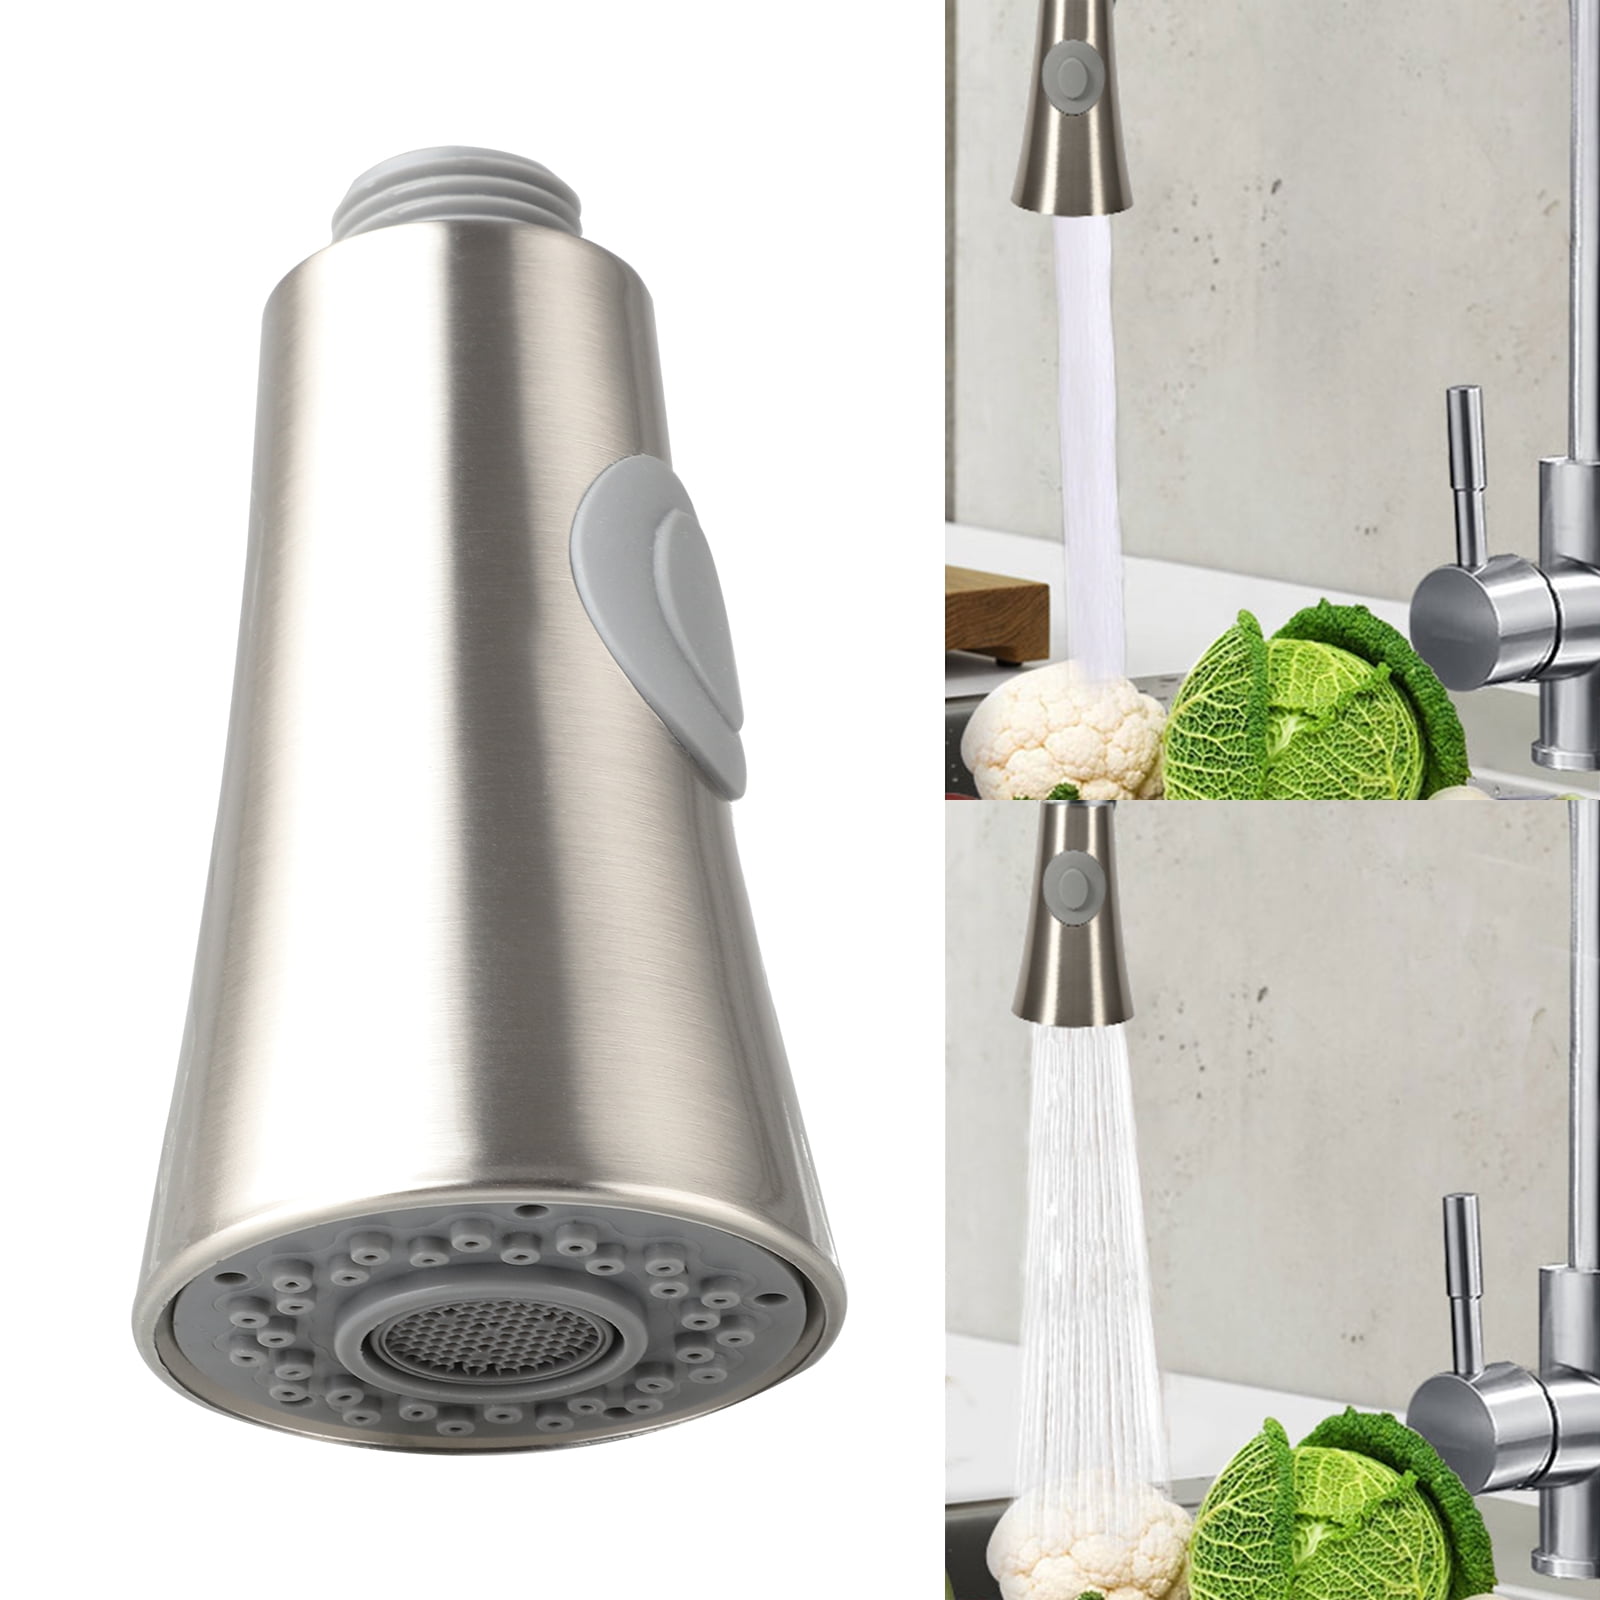
- Clogged or restricted aerator: The aerator, a small screen at the tip of the sprayer head, mixes air and water to create a gentle spray. When clogged with debris, it can obstruct water flow.
- Faulty hose: A kinked, damaged, or worn hose can restrict water flow and cause the sprayer to malfunction.
- Loose or broken sprayer head: The sprayer head itself can become loose or even break, leading to leaks or reduced water pressure.
Tools of the Trade:
Before starting, gather these essential tools:
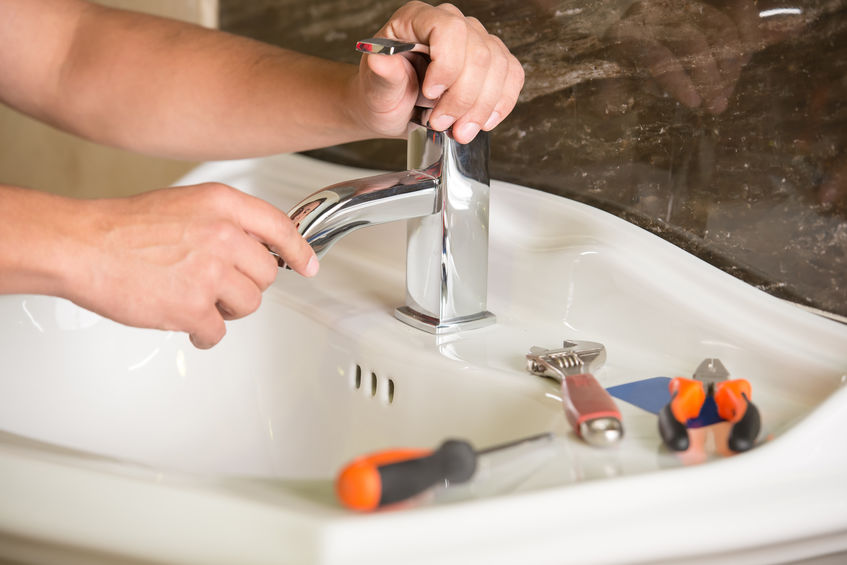
- Adjustable wrench or pliers
- Allen wrench (hex key)
- Flathead screwdriver
- Replacement washers (if needed)
- Aerator key (if applicable)
Step-by-Step Repair Guide:

Image: www.walmart.com
1. Turn Off the Water Supply:
Shut off the water supply to the faucet using the valves underneath the sink. This will prevent any unwanted surprises during the repair process.
2. Detach the Sprayer Head:
Most sprayer heads are attached with a quick-connect fitting. Simply pull the sprayer head straight down to detach it. If it doesn’t come off easily, use an adjustable wrench to loosen the connection.
3. Inspect and Replace the Washers:
Once the sprayer head is removed, inspect the washers for any damage or wear. If they appear worn or damaged, remove them and replace them with new washers.
4. Clean the Aerator:
Use an aerator key or a flathead screwdriver to unscrew the aerator from the sprayer head. Rinse it under running water to remove any debris or buildup that may be clogging it.
5. Inspect and Replace the Hose:
If the washers and aerator appear fine, the hose may be the culprit. Inspect it for any kinks or damage. Replace the hose if it shows signs of wear.
6. Reassemble the Sprayer:
With the faulty parts replaced or cleaned, it’s time to reassemble the sprayer. Start by screwing the aerator back into the sprayer head. Next, insert the new washers into the quick-connect fitting and attach the sprayer head to the hose.
7. Tighten the Connections:
Use an adjustable wrench or pliers to ensure the sprayer head and hose are securely connected. Avoid overtightening as it can damage the components.
8. Turn On the Water Supply:
Slowly turn on the water supply to the faucet. Check for any leaks or malfunctioning parts. If everything is in working order, your faucet sprayer should be fully operational again.
How To Fix Faucet Sprayer
https://youtube.com/watch?v=tIORaL_CvEE
Conclusion:
Fixing a faucet sprayer is a straightforward task that most homeowners can accomplish with basic tools and a little patience. By following these steps, you can restore your sprayer to its former glory, ensuring a smooth and efficient water flow for all your kitchen or bathroom tasks. Remember to always take precautions by shutting off the water supply before starting any repairs. And if you encounter any issues during the process, don’t hesitate to seek professional help from a qualified plumber.