Introduction
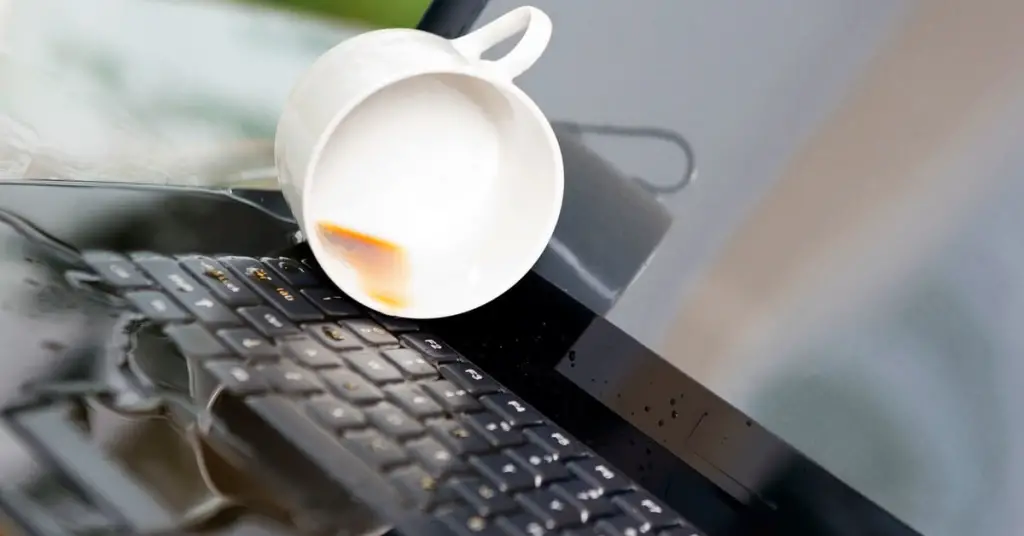
Imagine the panic that strikes as you realize water has invaded your precious keyboard. A wave of despair threatens to consume you, knowing that losing this essential device could disrupt your daily routine. Fear not! With the right tools and a steady hand, you can restore your keyboard to its former glory. This comprehensive guide will lead you through a step-by-step process, empowering you to repair your water-damaged keyboard and avert disaster.

Image: helpdeskgeekal.pages.dev
Understanding Water Damage: Types and Severity
Water damage to keyboards can be classified into two main types: liquid spills and submersion. Liquid spills occur when a small amount of liquid is accidentally poured or splashed onto the keyboard, while submersion involves the keyboard being fully submerged in water. The severity of damage depends on the type and duration of exposure. Freshwater, such as spilled coffee, typically causes less damage than saltwater or sugary drinks.
Immediate Actions: Quick Response Minimizes Damage
Time is of the essence when dealing with water damage. Act swiftly to minimize the extent of the damage:
-
Unplug the keyboard: Immediately disconnect the keyboard from any power source to prevent electrical shocks or further damage.
-
Turn it upside down: Gently flip the keyboard upside down to allow any excess water to drain out.
-
Shake it gently: Shake the keyboard gently to remove water droplets lodged in between the keys.
Disassembly: Careful Extraction for Repair
Once you’ve taken immediate action, it’s time to disassemble the keyboard for proper cleaning and repair:
-
Locate screws and clips: Identify and remove any screws or clips that hold the keyboard together.
-
Separate the parts: Carefully separate the keyboard’s top panel from the base, exposing the internal components.
-
Remove the keys: Use a keycap puller or a small flathead screwdriver to gently remove the keys one by one.

Image: laptopgrader.com
Cleaning: Rinsing and Drying to Remove Residues
With the keyboard disassembled, it’s time to clean the individual components:
-
Rinse with distilled water: Use distilled water to gently rinse the keyboard’s circuit board and other components. This will remove any water residue or contaminants.
-
Air dry: Place the rinsed components on a clean, dry surface and allow them to air dry completely. Do not use a hair dryer or heat to speed up the process, as this can damage the components.
Reassembly: Putting It Back Together with Precision
Once the components are dry, it’s time to reassemble the keyboard:
-
Reattach the keys: Carefully reattach the keys to their designated positions on the keyboard’s base.
-
Seal the casing: Close the keyboard’s top panel and secure it with the screws or clips you removed earlier.
Testing: Ensuring Functionality Before Use
Before plugging the keyboard back in, it’s crucial to test its functionality:
-
Connect to a computer: Connect the keyboard to a computer and test each key to ensure they are working correctly.
-
Check for any issues: Pay attention to any unusual sounds, keystrokes not registering, or other problems.
Prevention: Simple Steps to Avoid Future Disasters
To prevent future water damage, consider these simple yet effective measures:
-
Use a keyboard cover: Invest in a keyboard cover to protect your keyboard from spills and dust.
-
Keep liquids away: Avoid placing drinks or other liquids near your keyboard, especially on your desk.
-
Clean regularly: Regularly clean your keyboard with a soft, dry cloth to remove dust and debris that can attract moisture.
How To Fix Water Damaged Keyboard
Conclusion
Repairing a water-damaged keyboard requires a swift response and careful execution. By following the steps outlined in this guide, you can increase the chances of restoring your keyboard to working condition. Remember, prevention is key. Taking proactive measures, such as using a keyboard cover and keeping liquids away, can save you the time and hassle of dealing with water damage. If you’ve successfully resurrected your keyboard, take pride in your accomplishment and enjoy the satisfaction of using a fully functional device again.