Acrylic, a versatile plastic material prized for its clarity, strength, and durability, is susceptible to cracking under certain conditions. Whether it’s a beloved acrylic aquarium or a cherished household item, a crack can cause distress and compromise the object’s integrity. Fortunately, with the right approach, it is possible to effectively repair a crack in acrylic and restore its functionality.

Image: answerbun.com
What Causes Cracks in Acrylic?
Understanding the causes of acrylic cracks is crucial to prevent future damage. Common culprits include:
-
Mechanical Stress: Excessive force or impact can cause acrylic to crack, especially at stress points or if the material is thin or brittle.
-
Thermal Stress: Rapid temperature changes, such as sudden exposure to heat or cold, can create thermal stress that weakens acrylic and leads to cracking.
-
Chemical Exposure: Certain chemicals, such as strong solvents or harsh cleaners, can attack the surface of acrylic, making it more susceptible to cracking.
-
Environmental Factors: Prolonged exposure to UV radiation, temperature extremes, or moisture can gradually degrade acrylic, increasing the risk of cracks.
Essential Tools and Materials for Acrylic Repair
Before embarking on an acrylic repair project, gather the necessary tools and materials:
-
Acrylic Cement: Specifically formulated for bonding acrylic surfaces, this adhesive ensures a durable and invisible repair.
-
Acrylic Solvent: Use a solvent designed for acrylic to dissolve the cement and soften the acrylic edges for welding.
-
Polishing Compound: For smoothing and polishing the repair area after gluing.
-
Applicator Brush: For precise application of cement and solvent.
-
Plastic Scraper: To remove excess cement and smooth the repair.
-
Safety Gloves: To protect hands from cement and solvent.
Step-by-Step Guide to Repairing an Acrylic Crack
Follow these detailed steps to effectively repair an acrylic crack:
1. Prepare the Surface: Clean the crack area thoroughly using a mild soap solution and allow it to dry completely. Mask off the surrounding area with tape to prevent unwanted bonding.
2. Apply Acrylic Solvent: Using an applicator brush, sparingly apply acrylic solvent to the crack edges. Allow it to penetrate for a few minutes, which will dissolve the acrylic and soften the edges.
3. Apply Acrylic Cement: Once the edges are softened, apply a thin layer of acrylic cement along the crack. Use a steady hand and avoid excessive application.
4. Bind the Crack: Carefully align the crack edges and press them together firmly. Use a plastic scraper to gently remove any excess cement that oozes out.
5. Allow to Dry: Leave the repaired area undisturbed for several hours or longer, depending on the manufacturer’s instructions. The cement needs ample time to cure and form a strong bond.
6. Polish and Finish: Once the cement is fully cured, remove the masking tape and gently polish the repair area using a polishing compound. This will remove any visible seam lines and create a smooth, professional finish.
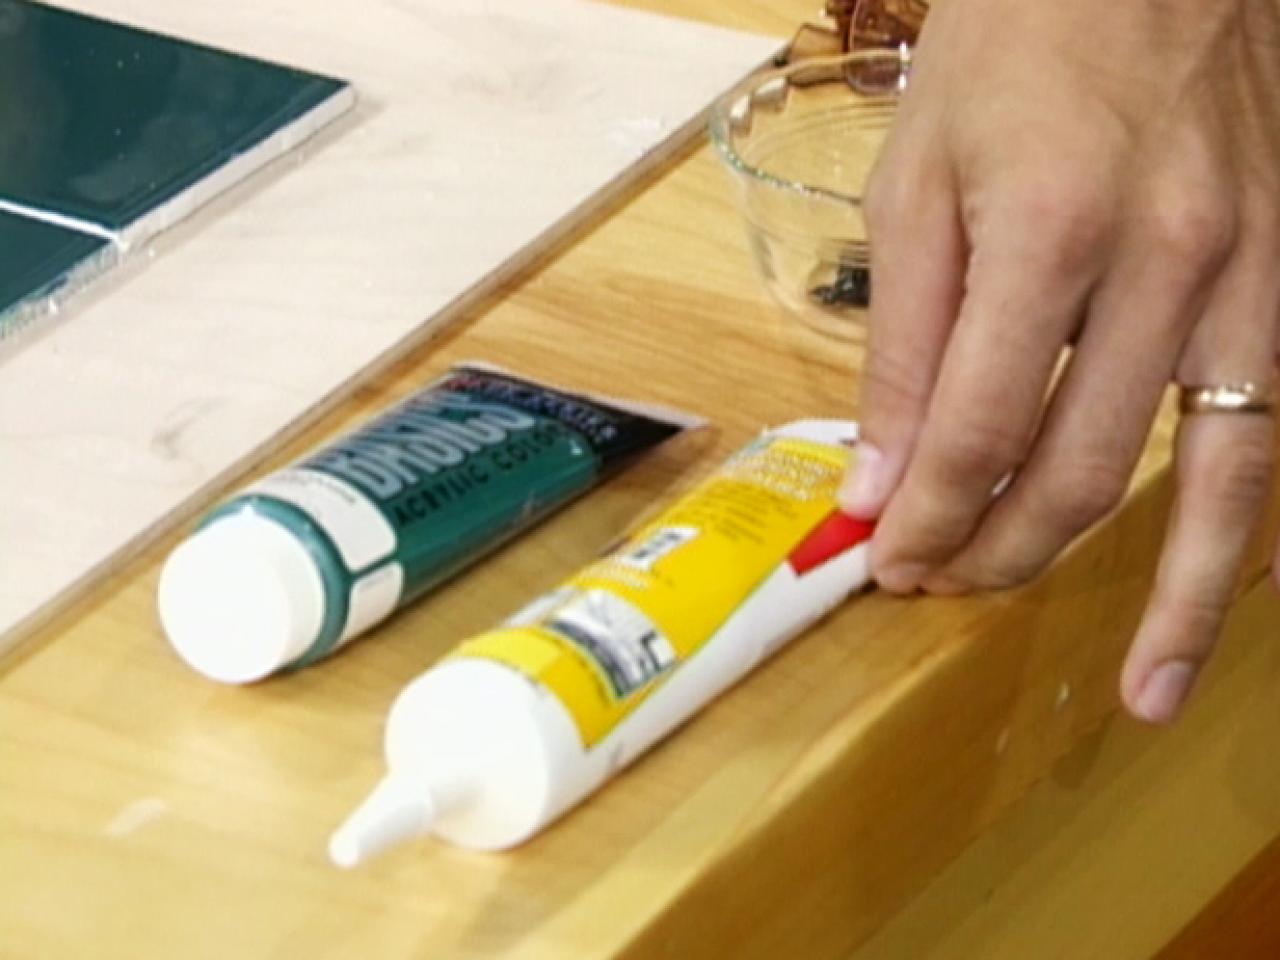
Image: www.diynetwork.com
Expert Insights and Additional Tips
To enhance the longevity and effectiveness of your acrylic repair, consider these expert insights:
-
Use the Right Cement: Opt for an acrylic cement specifically designed for the type of acrylic you’re repairing. Different formulas cater to different acrylic compositions.
-
Use a Thin Layer of Cement: Excessive cement can weaken the bond, making the repair more prone to failure. Apply just enough to create a strong, invisible seam.
-
Test the Cement on a Scrap Piece: Before using acrylic cement on the actual repair, test it on a scrap piece of acrylic to ensure proper bonding and color matching.
-
Avoid Overheating: Excessive heat can damage acrylic. Use the solvent sparingly and work in a well-ventilated area.
-
Consider Reinforcement: For larger cracks or repairs in load-bearing areas, consider reinforcing the joint with acrylic rods or plates to enhance strength.
How To Fix A Crack In Acrylic
Empowering Homeowners with DIY Repairs
Repairing a crack in acrylic is an achievable DIY task with the proper knowledge and materials. By following the steps outlined in this comprehensive guide, homeowners can restore the integrity of their acrylic possessions and extend their lifespan. Remember to exercise caution when handling acrylic solvents and follow the manufacturer’s instructions meticulously for optimal results.
