Introduction
Water is essential for life, and a properly functioning faucet is a necessity for any household. But when your faucet starts spraying water, it can be a frustrating and inconvenient issue. If you’re facing this problem, don’t worry – fixing a spraying faucet is often a relatively simple task that can be accomplished without the need for a plumber. In this comprehensive guide, we’ll provide you with step-by-step instructions, troubleshooting tips, and expert advice to help you resolve the issue effectively.
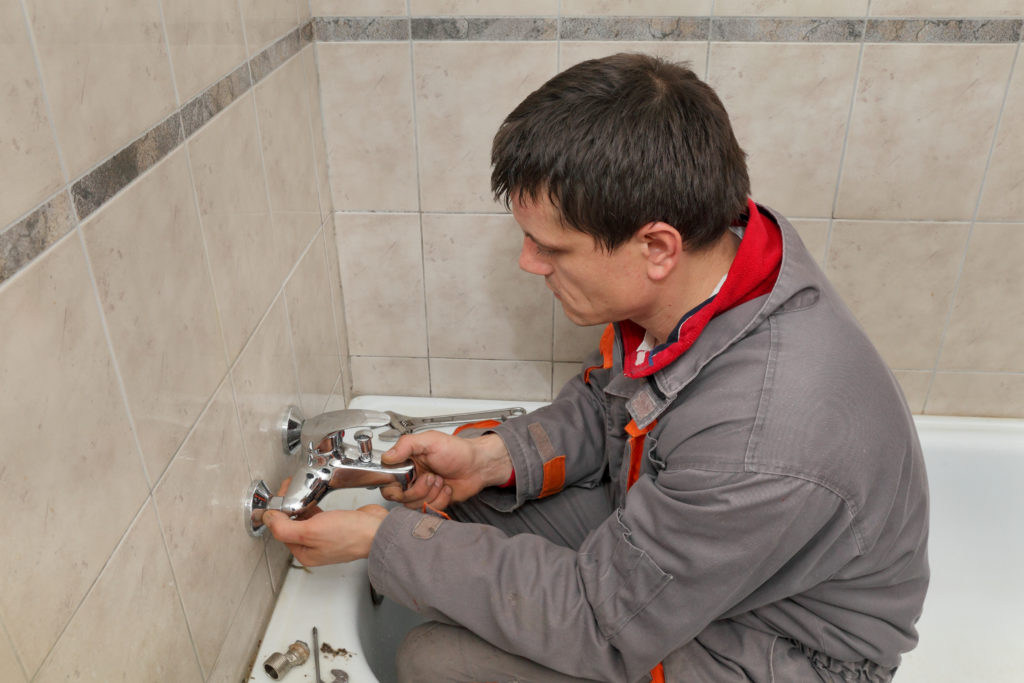
Image: www.christiansonco.com
Leaking faucets can lead to wasted water, which can impose a financial burden and an environmental concern. Moreover, a leaking faucet can create a breeding ground for bacteria if left unattended. By understanding the common causes of a spraying faucet and the techniques to repair it, you can restore your faucet to pristine condition and enjoy a smooth flow of water again.
Identifying the Source of the Leak
Before attempting any repairs, it’s crucial to pinpoint the exact location of the leak. There are several common areas where a faucet can develop a leak:
-
The Washer: The washer is a small rubber disc that creates a seal against the faucet seat, preventing water from leaking out. Over time, the washer can become worn or damaged, causing a leak.
-
The O-Rings: O-rings are small rubber seals that create a seal between different parts of the faucet. If an O-ring is worn or damaged, it can cause a leak.
-
The Packing Nut: The packing nut is a nut that compresses a washer against the faucet stem, creating a seal. If the packing nut is loose or the packing material is worn, it can cause a leak.
-
The Faucet Cartridge: The faucet cartridge is a single unit that contains all the necessary components to control the flow of water, including the washer, O-rings, and packing nut. If the faucet cartridge is damaged or becomes dislodged, it can cause a leak.
Step-by-Step Repair Instructions
Once you’ve identified the source of the leak, you can proceed with the repair. Here are the step-by-step instructions for the most common types of faucet leaks:
Replacing a Washer
-
Turn off the water supply to the faucet.
-
Open the faucet to release any remaining water.
-
Use a wrench to remove the faucet handle.
-
Remove the packing nut using a wrench or pliers.
-
Remove the old washer and replace it with a new one.
-
Reassemble the faucet by reversing the steps above.
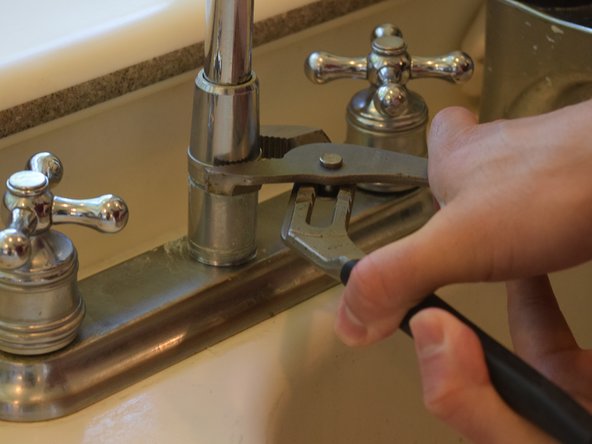
Image: www.artcomcrea.com
Replacing an O-Ring
-
Turn off the water supply to the faucet.
-
Open the faucet to release any remaining water.
-
Use a wrench to remove the faucet handle.
-
Remove the O-ring using a small screwdriver or your fingernail.
-
Replace the old O-ring with a new one.
-
Reassemble the faucet by reversing the steps above.
Tightening the Packing Nut
-
Turn off the water supply to the faucet.
-
Open the faucet to release any remaining water.
-
Use a wrench to tighten the packing nut.
-
Do not overtighten the packing nut, as this can damage the faucet.
-
Reassemble the faucet by reversing the steps above.
Replacing the Faucet Cartridge
-
Turn off the water supply to the faucet.
-
Open the faucet to release any remaining water.
-
Use a wrench to remove the faucet handle.
-
Remove the retaining clip that holds the cartridge in place.
-
Pull out the old cartridge and replace it with a new one.
-
Reassemble the faucet by reversing the steps above.
Troubleshooting Tips
If you’ve followed the repair instructions but the faucet is still leaking, there may be an underlying problem. Here are some troubleshooting tips:
-
The washer is not the right size: Make sure the washer you’re using is the correct size for your faucet.
-
The washer is not seated properly: Ensure that the washer is seated properly against the faucet seat.
-
The packing nut is too loose: Tighten the packing nut further, but avoid overtightening.
-
The packing material is damaged: If the packing material is damaged, it will need to be replaced.
-
There is debris trapped in the faucet: Turn off the water supply and remove the faucet aerator. Clean the aerator and the faucet outlet to remove any debris.
When to Call a Plumber
In most cases, fixing a spraying faucet is a relatively simple task that can be done without the need for a plumber. However, there are some situations where it may be advisable to call a plumber:
-
The faucet is leaking from multiple locations: If the faucet is leaking from multiple locations, it may be a sign of a more serious problem.
-
The leak is severe: If the leak is severe, it can quickly lead to water damage.
-
You are not comfortable making repairs yourself: If you are not comfortable making repairs yourself, it is best to call a plumber.
How To Fix A Spraying Faucet
Conclusion
